
How to Grow Mushrooms at Home: A Beginner's Guide
Mushrooms are the one crop you can grow without a single ray of sunlight. No garden, no balcony, no south-facing window — just a shelf in a cool room, a bag of substrate, and about three weeks of patience. If you have ever wanted to grow food but felt limited by space or light, this is the crop that removes every excuse.
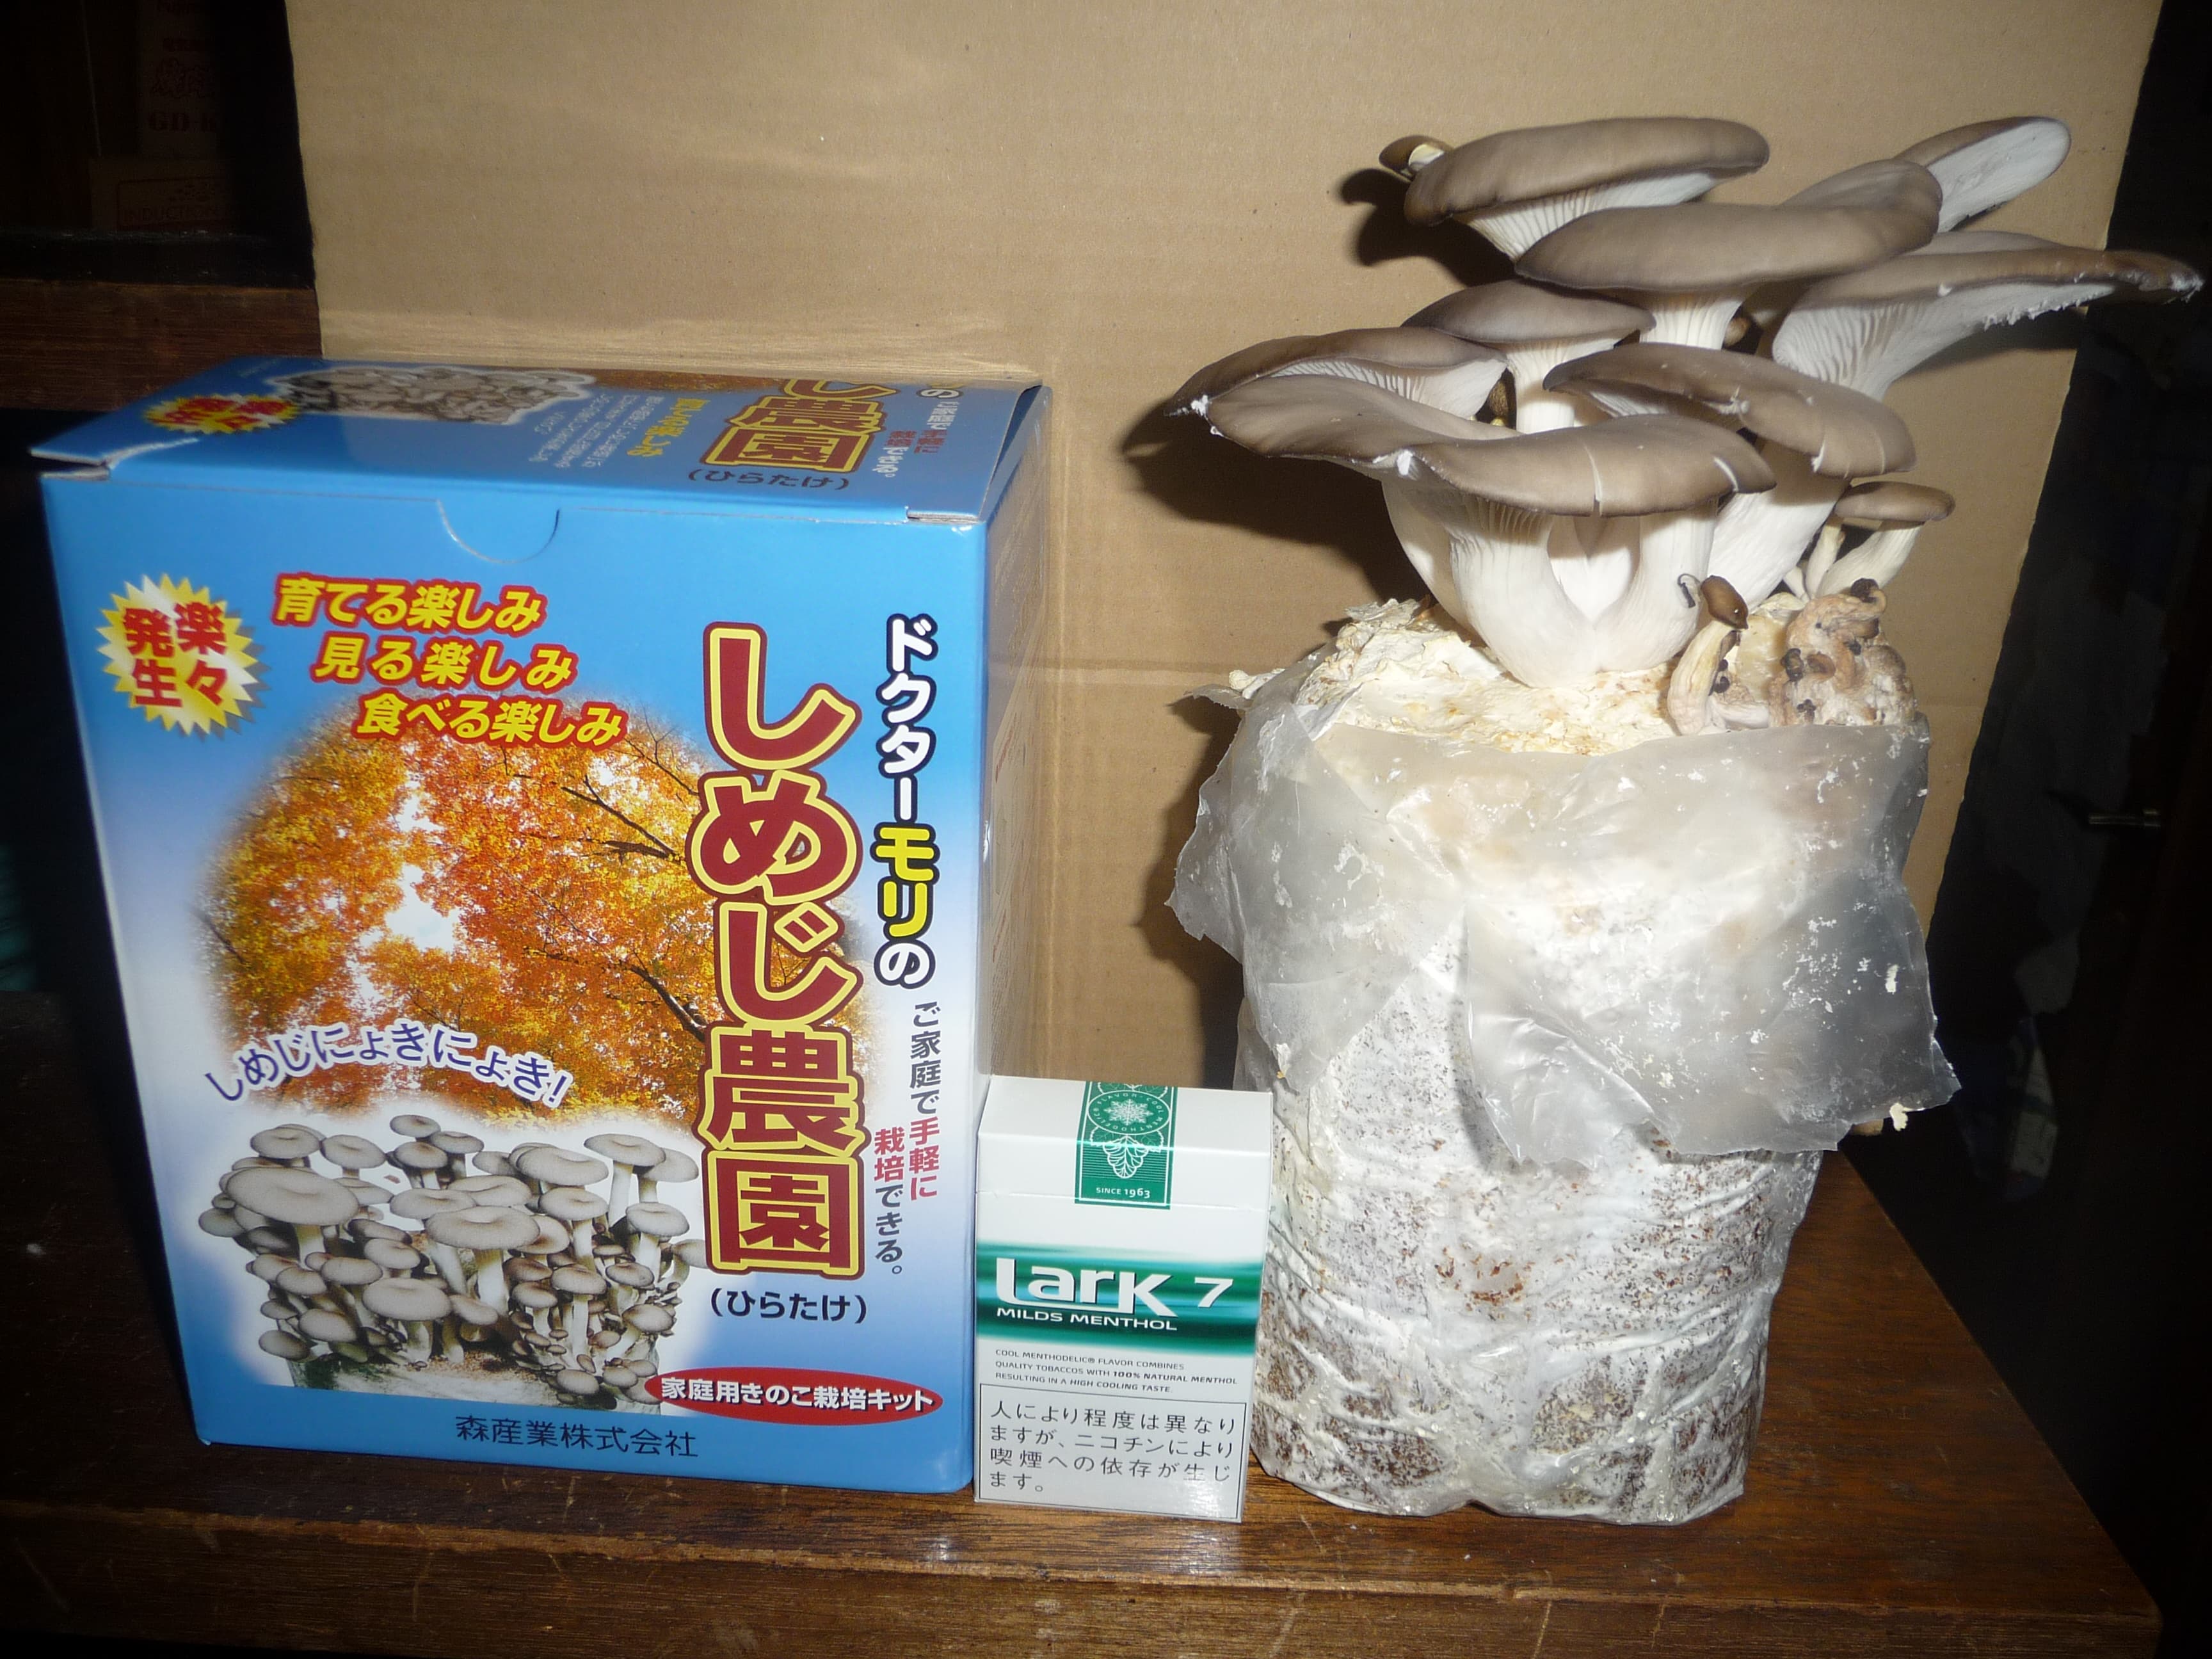
They are also one of the most rewarding things to share. A single oyster mushroom block can flush 500 g–1 kg (1–2 lb) at once, far more than most households eat in a week. That surplus is exactly what neighbourhood food sharing is for.
Why grow mushrooms at home
Choose your mushroom
If this is your first time, grow oyster mushrooms (*Pleurotus ostreatus* or *Pleurotus pulmonarius*). They are the most forgiving species by a wide margin — aggressive colonisers that outcompete contaminants and tolerate a broad temperature range.
| Variety | Difficulty | Time to harvest | Ideal temperature | | --- | --- | --- | --- | | Oyster (blue, pink, golden) | Easy | 2–4 weeks | 18–24°C (65–75°F) | | Lion's mane | Easy–moderate | 3–5 weeks | 18–21°C (65–70°F) | | Shiitake | Moderate | 6–12 months on logs | 13–21°C (55–70°F) | | Wine cap | Easy (outdoors) | 2–3 months | 15–24°C (60–75°F) |
Save shiitake logs and button mushrooms for later. Start with oysters, get a harvest, then branch out.
The three routes in
1. A ready-to-fruit kit. A block already fully colonised with mycelium. You cut a slit, mist it, and harvest. Zero risk, highest cost per harvest, and by far the best way to learn what a healthy flush looks like. Recommended for your first grow.
2. Grain spawn plus pasteurised substrate. You buy spawn and mix it into your own substrate — this is where home growing gets genuinely cheap. Covered below.
3. Outdoor beds. Wine cap mushrooms grown in a shaded bed of hardwood chips. Almost no equipment, very low failure rate, but you wait months rather than weeks.
Growing oysters on straw or coffee grounds
This is the classic low-cost method and works on any continent.
You will need: oyster grain spawn, a substrate (chopped wheat straw, or spent coffee grounds mixed with cardboard), a clear plastic grow bag or a food-safe bucket, and a spray bottle.
Step 1 — Prepare the substrate. Chop straw into 2–5 cm (1–2 in) lengths. Submerge it in water heated to 65–75°C (150–170°F) and hold for one hour. This pasteurises it — killing competing moulds while leaving the beneficial microbes that help oysters establish. Do not boil.
Step 2 — Drain and cool. Drain thoroughly. The substrate should be at "field capacity": squeeze a handful hard and only a few drops should come out. Too wet is the single most common beginner mistake. Let it cool to room temperature before the next step — hot substrate kills spawn.
Step 3 — Mix in spawn. With clean hands, layer substrate and spawn into your bag or bucket, using roughly 1 part spawn to 10 parts substrate by weight. Pack it firmly but not compressed. Seal the bag, or drill 1 cm (½ in) holes every 10–15 cm (4–6 in) around a bucket.
Step 4 — Colonise in the dark. Put it somewhere dark and stable at 18–24°C (65–75°F): an airing cupboard, under the sink, the back of a wardrobe. Over 2–3 weeks white mycelium spreads through the substrate until the whole block looks like it has been dusted in snow. Do not open it, do not mist it, do not check it daily. Just wait.
Step 5 — Trigger fruiting. Once the block is fully white, move it somewhere with fresh air, indirect light, and higher humidity. Cut a 5–8 cm (2–3 in) X-shaped slit in the bag, or expose the bucket holes. Mist the openings 2–3 times a day.
Step 6 — Harvest. Tiny pins appear within days and can double in size every 24 hours. Harvest the whole cluster by twisting it off at the base just before the cap edges flatten out and turn upward — that is peak texture and shelf life. Waiting an extra day drops a lot of spores and costs you flavour.
Then keep misting. A healthy block gives 2–4 flushes over 6–10 weeks, each smaller than the last. When it stops, break the spent block into your compost or spread it under shrubs.
Troubleshooting
Green, black, or fuzzy grey patches. That is mould, not mycelium. Healthy mycelium is bright white and rope-like. Small green patches usually mean the substrate was too wet or not properly pasteurised — bin the block (do not compost it indoors) and start again with drier substrate.
Long spindly stems, tiny caps. Not enough fresh air. Mushrooms exhale CO₂ and stall in still air. Crack a window or move the block somewhere with better circulation.
Pins form, then shrivel and go brown. Humidity dropped. Mist more often, or drape a loose plastic sheet over the block to hold moisture — leaving gaps so air still moves.
Nothing happens after four weeks. Usually cold. Check the actual temperature where the block sits, not the room average — a cold cupboard against an outside wall runs several degrees below the rest of the house.
Sour or ammonia smell. Bacterial contamination from waterlogged substrate. Start over, and squeeze harder when testing moisture.
A note on safety
Only ever eat mushrooms you grew yourself from purchased spawn of a known species. Never eat a wild mushroom based on a photo, an app, or a plausible resemblance — some deadly species look very like edible ones. Home cultivation is safe precisely because you know exactly what you inoculated. Cook all home-grown mushrooms before eating.
Sharing the flush
Mushrooms are the definition of a feast-or-famine crop. Nothing for three weeks, then a kilo in two days — more than most households can eat before it turns. Oysters keep just 5–7 days in a paper bag in the fridge, so a big flush either gets shared or gets wasted.
That is where neighbours come in. On Locavori you can list a surplus flush the morning you harvest it and have it collected the same day, while it is still perfect. Trade a bag of oysters for someone's glut of tomatoes or beans — the kind of swap that makes a street feel like a neighbourhood.
Growing food shouldn't depend on owning a garden. A shelf, a bag, and three weeks is genuinely all it takes.
Ready to share what you grow? Join Locavori free and connect with growers on your street.
Related Posts
Square Foot Gardening: A Beginner's Guide
Grow more food in less space with square foot gardening — a simple grid method for raised beds that means less weeding, less waste, and a steady harvest all season.
How to Grow Potatoes: A Complete Guide
From chitting seed potatoes to digging up a treasure of tubers — everything you need to grow a generous potato harvest in beds, bags, or containers.
How to Grow Butternut Squash: Complete Guide
Grow sweet, long-storing butternut squash from seed to cellar — planting timing, vertical growing, hand-pollination, and the curing trick for months of storage.